前言
随着现代软件开发模式的演变,前后端分离架构逐渐成为主流。这种架构模式将前端界面与后端业务逻辑分开,使得两者可以独立开发、测试和部署,大大提高了开发效率和可维护性。而Linux作为一款稳定、高效的操作系统,在部署前后端分离项目时发挥着不可或缺的作用。
在本文中,我们将深入探讨在Linux环境下如何进行前后端分离项目的部署。我们将从环境准备、配置管理、部署流程、性能优化等方面进行详细讲解,并提供一些实用的技巧和最佳实践。无论你是初学者还是有一定经验的开发者,相信本文都能为你提供一些有益的参考和启示。
在阅读本文之前,建议你对前后端分离架构有基本的了解,并熟悉Linux操作系统的基本操作。同时,为了更好地理解和掌握部署过程,建议你跟随文中的步骤进行操作,并在实际操作中不断尝试和优化。
通过本文的学习,你将能够掌握在Linux环境下部署前后端分离项目的方法和技巧,提升你的开发效率和项目质量。让我们一起开始这段探索之旅吧!
一.nginx安装以及字启动
解压nginx
tar -xvf nginx-1.13.7.tar.gz -C /usr/local/java/

# 进入安装包目录
cd nginx-1.13.7
# 编译,执行配置: 考虑到后续安装ssl证书 添加两个模块
一键安装4个依赖
yum -y install gcc zlib zlib-devel pcre-devel openssl openssl-devel

安装nginx
进入安装包目录
cd nginx-1.13.7
编译,执行配置: 考虑到后续安装ssl证书 添加两个模块
./configure --with-http_stub_status_module --with-http_ssl_module

安装
make && make install

启动 nginx 服务
安装好的 nginx 服务在 /usr/local/nginx 下:
进入 /usr/local/nginx/sbin 目录下启动:
./nginx

开放端口号 并且在外部访问
firewall-cmd --zone=public --add-port=80/tcp --permanent
#跟新防火墙规则
firewall-cmd --reload
#防火墙列表
firewall-cmd --zone=public --list-ports

设置nginx自启动
首先修改/etc/rc.d/rc.local文件,添加如下内容:
/usr/local/nginx/sbin/nginx

执行以下命令,使/etc/rc.d/rc.local变成可执行文件。
chmod +x /etc/rc.d/rc.local
使用reboot命令重启后,查看nginx是否成功的自启动了

二.配置负载均衡
1.配置一个tomact
cp -r apache-tomcat-8.5.20/ apache-tomcat-8.5.20_8081/

修改端口号
就参考小编博客即可
8081端口号
firewall-cmd --zone=public --add-port=8081/tcp --permanent
#跟新防火墙规则
firewall-cmd --reload

2.配置负载均衡

然后在分别启动即可
修改nginx.conf文件
   upstream  tomcat_list {  #服务器集群名字
    server    127.0.0.1:8080  weight=1;   #服务器1   weight是权重的意思,权重越大,分配的概率越大。
    server    127.0.0.1:8082  weight=3; #服务器2   weight是权重的意思,权重越大,分配的概率越大
}
 重新加载配置文件
./nginx -s reload
三.部署前后端分离项目
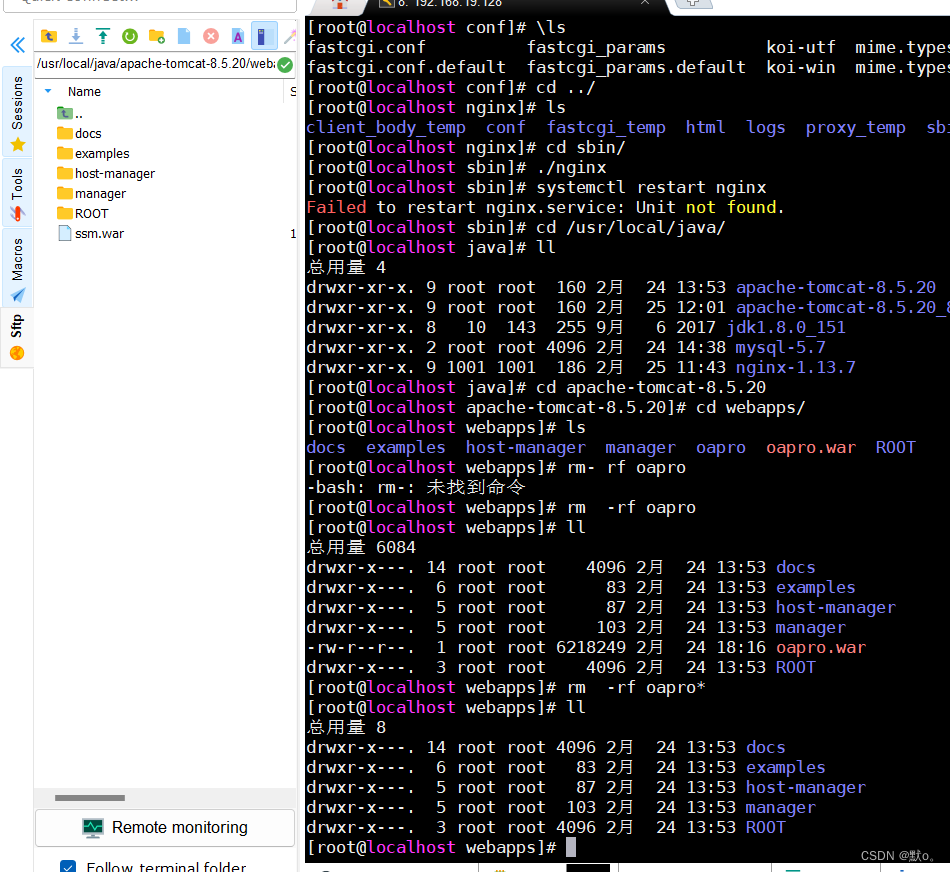
1.项目部署后端

2.导入sql脚本

3.项目部署前端(nginx配置文件)
#user  nobody;
worker_processes  1;

#error_log  logs/error.log;
#error_log  logs/error.log  notice;
#error_log  logs/error.log  info;

#pid        logs/nginx.pid;


events {
    worker_connections  1024;
}


http {
    include       mime.types;
    default_type  application/octet-stream;

    #log_format  main  '$remote_addr - $remote_user [$time_local] "$request" '
    #                  '$status $body_bytes_sent "$http_referer" '
    #                  '"$http_user_agent" "$http_x_forwarded_for"';

    #access_log  logs/access.log  main;

    sendfile        on;
    #tcp_nopush     on;

    #keepalive_timeout  0;
    keepalive_timeout  65;

    #gzip  on;


    #服务器的集群
   upstream  tomcat_list {  #服务器集群名字
  server    127.0.0.1:8080  weight=1;   #服务器1   weight是权重的意思,权重越大,分配的概率越大。
  server    127.0.0.1:8081  weight=1; #服务器2   weight是权重的意思,权重越大,分配的概率越大
}

    server {
        listen       80;            #监听80端口,可以改成其他端口
        #server_name  localhost;    #当前服务的域名
  server_name  www.zking.com; #当前服务的域名(虚拟域名也可以)
  root          /usr/local/mypro/dist;      #将要访问的网站的根目录,nginx节点会自动继承父节点的配置

        #charset koi8-r;

        #access_log  logs/host.access.log  main;

  location / {
          #该句代码是为解决history路由不能跳转的问题,在vue-router官网有介绍
    try_files $uri $uri/  /index.html;
  }
  location  ^~/api/ {
    #^~/api/表示匹配前缀是api的请求,proxy_pass的结尾有/, 则会把/api/*后面的路径直接拼接到后面,即移除api
    proxy_pass http://tomcat_list/;
  }
        #error_page  404              /404.html;

        # redirect server error pages to the static page /50x.html
        #
        error_page   500 502 503 504  /50x.html;
        location = /50x.html {
            root   html;
        }

        # proxy the PHP scripts to Apache listening on 127.0.0.1:80
        #
        #location ~ \.php$ {
        #    proxy_pass   http://127.0.0.1;
        #}

        # pass the PHP scripts to FastCGI server listening on 127.0.0.1:9000
        #
        #location ~ \.php$ {
        #    root           html;
        #    fastcgi_pass   127.0.0.1:9000;
        #    fastcgi_index  index.php;
        #    fastcgi_param  SCRIPT_FILENAME  /scripts$fastcgi_script_name;
        #    include        fastcgi_params;
        #}

        # deny access to .htaccess files, if Apache's document root
        # concurs with nginx's one
        #
        #location ~ /\.ht {
        #    deny  all;
        #}
    }


    # another virtual host using mix of IP-, name-, and port-based configuration
    #
    #server {
    #    listen       8000;
    #    listen       somename:8080;
    #    server_name  somename  alias  another.alias;

    #    location / {
    #        root   html;
    #        index  index.html index.htm;
    #    }
    #}


    # HTTPS server
    #
    #server {
    #    listen       443 ssl;
    #    server_name  localhost;

    #    ssl_certificate      cert.pem;
    #    ssl_certificate_key  cert.key;

    #    ssl_session_cache    shared:SSL:1m;
    #    ssl_session_timeout  5m;

    #    ssl_ciphers  HIGH:!aNULL:!MD5;
    #    ssl_prefer_server_ciphers  on;

    #    location / {
    #        root   html;
    #        index  index.html index.htm;
    #    }
    #}

}